HOW TO APPLY THE NAIL WRAPS
Preparation:
Make sure you use an alcohol wipe to remove any lotions, oils or dirt, before applying the nail polish wraps. Also, don’t let the nail polish strips touch the cuticles on the skin as this can cause them to crack or lift off.
Step 1
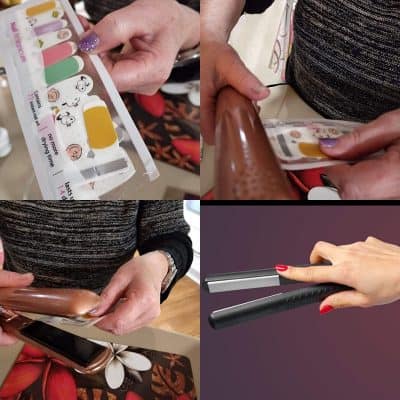
Remove the clear cover – a tip I found handy was to bend the tip of the silver bit a little and the clear plastic cover will come off easier for you.
Step 2
Peel polish strip.
Step 3
Tear silver tab end.
Step 4
Apply the correct size to nail and gently stretch to fit the nail.
Step 5
Make sure you file in the downward motion only and try not to file off too much at the tip as it will look like you have tip wear on the first day. This can happen sometimes depending how you angle the nail file.
Step 6
To get long-lasting results you can apply a top coat or a UV gel. Make sure you test one nail with your top coat or gel, as some don’t work to0 well together, they may cause lifting and cracking on the wrap.


Tips that I have found helpful when applying these gorgeous wraps:
I usually apply these wraps at the end of the day , after I have had a bath, when I am nice and relax and to get longer lasting results , I want to avoid washing my hands for one to two hours after application. The strips will stay on if you do wash your hands straight after application, but you may get more tip wear, from doing this.
The next morning I apply a top coat or UV gel to the nail polish wraps to seal them and I have had long lasting results.
Our Nail Strips are 100% real Nail Polish, we have a great range of different designs, make sure you take care of your nails and hands and use gloves when cleaning and washing dishes , you will get longer lasting results and you will have a lovely beautiful nails and hands.
Application tips on our Metallic and Holographic Nail Polish Strips
These gorgeous wraps can be slightly difficult to apply than our regular nail polish strips , the best easy application is to warm them up slightly before application by holding the packet of the foil wrap
between your hands for a minute or two. Another tip is to use a smaller strip than you would normally use.
Looking for a place to read about our latest beauty tips?
Using Bindy's Base Coat and Top Coat
Also, a helpful hint from one of our customer’s and dear friends:
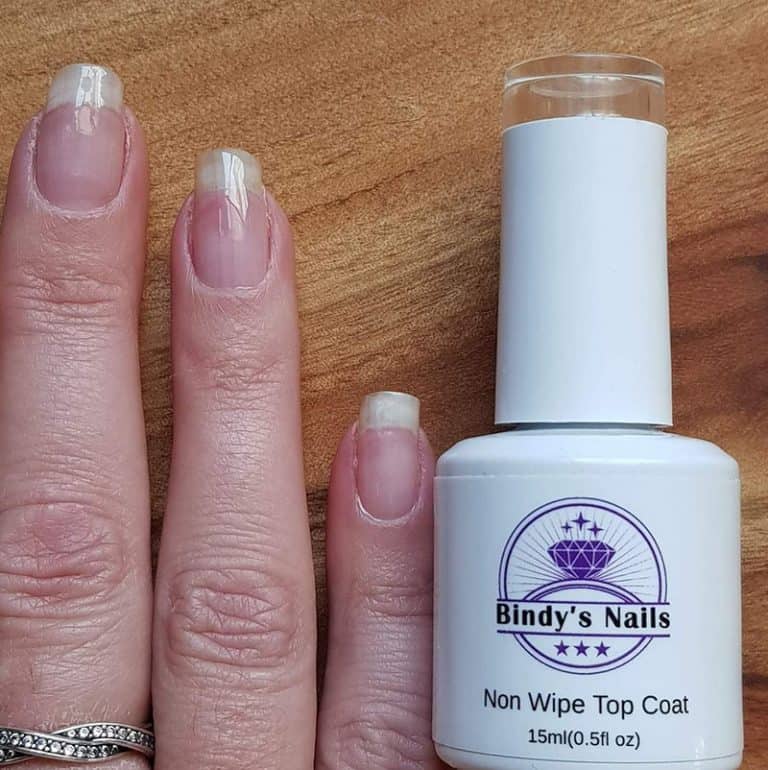
You can use our base and top coat with the nail polish wraps! Perfect for if your nail bed is uneven and you’re worried that the nail polish wrap won’t look any good, because they are thinner.
Follow these steps:
Step 1 – Apply our Base Coat gel first. You need to wipe over the base coat with an alcohol wipe to remove the stickiness before applying the wrap.
Step 2 – Apply the nail polish wraps on top, the self-levelling of the gels provides a nice smooth surface and will give you a perfect finish.
Step 3 – Optional: Seal the nail polish wraps with Bindy’s Non-Wipe Top Coat. I usually wait an hour or two, or apply this the next morning if I have done my mani the night before.
Step 4 – Enjoy your beautiful manicure xx

Looking after your leftover wraps


